The Making of "In a Moment, a Thousand Years"
written by XALTED
After exploring natural representation on my three latest works, I was thinking it’s time to go back making abstract work again. While searching for ideas I tinkered with the patch from ‘A Fissure in the Megastructure’ in Cables.
(In case you never heard of them, Cables.gl is a node-based webgl environment. It's a visual programming system, meaning instead of typing code by hand you interact with visual elements within the system (in this case, connecting nodes and virtual 'cables') to build the logic for your program. Each nodes represent a function, and by connecting them with virtual cables you can build a pretty complex network (called 'patch', like in modular synthesizer) of function that can do pretty much anything from interactive visualizer to games.)
This patch is my personal groundbreaking moment; it’s where I develop the basis of most of the technique I used in my recent works, especially on blending and layering to create a grainy, almost ink-like texture effect.
The main pattern in ‘A Fissure in the Megastructure’ is composed of layered grids that forms irregular pattern. This time, I want to focus on the intersecting shapes and put the grid as subtle layer to add nuance to the gradient.
Basic Composition
I started by generating an array of random points, then subdivide them. This way it would still look random, but also has some kind of order to them since the points in between are interpolated. I use this array as the position, scale, and rotation value for instancing cuboids and circles. To create the intersecting effect, I set their transparency very low with randomized value. This variable alone can create tons of visual variations, especially when paired with LUTmap node later in post-processing since it’s pretty sensitive to the initial grayscale value.
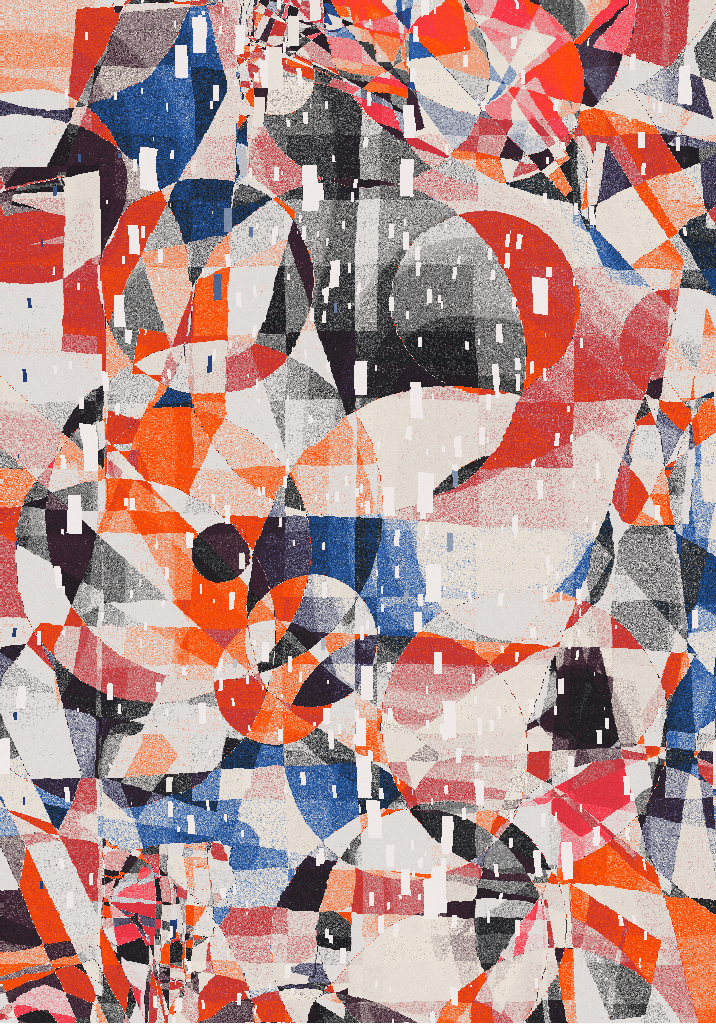
For the rotation, I multiply the initial value with a number depending on the turbulence mode. All pictures below have the same seed with different turbulence mode to show the difference. ‘Low’ turbulence means little to no rotation, so the cubes will form an irregular rectangular grid.
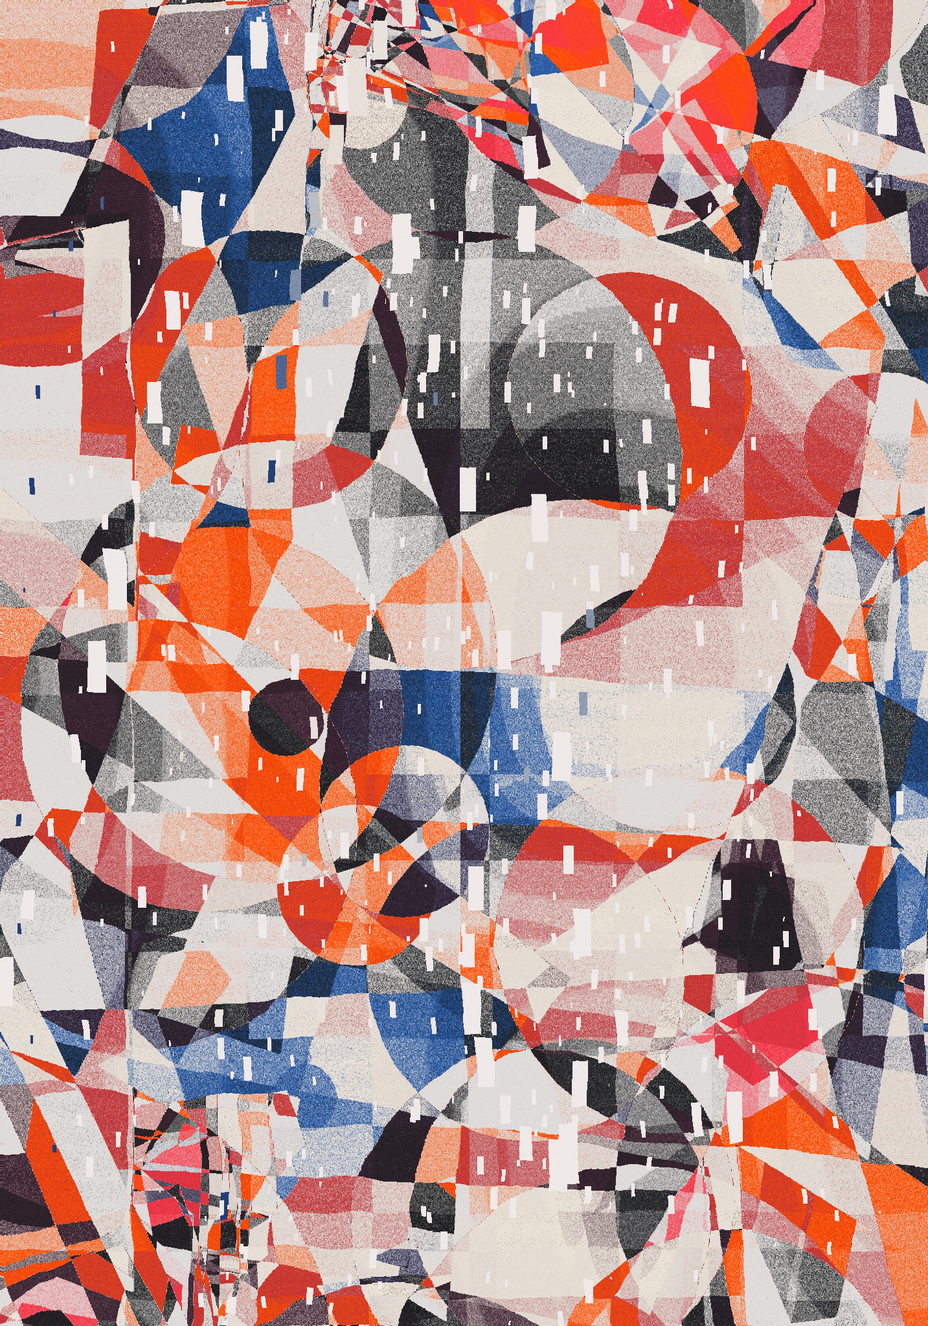
‘Medium’ turbulence multiplies each rotation by a small value. This creates a ‘flowing’ effect.
And ‘High’ turbulence is the most chaotic of the three.
This creates more identifiable variations in the output.
A Burst of Color
Every instanced geometries above are put through a Render2Texture node in Cables. This allows the resulting images to be post-processed to add grain effect and most importantly, colors.
First, grain effect is achieved by layering a few Value Noise at different scale, blending mode, and transparency.
Two Value Noise layers are put before the LUTmap node with very low transparency. Blending them before LUTmap allows the different grayscale value in the grain to be mapped in different colors. Then at the very end of the nodes one more Value Noise is overlaid to create finer grain.
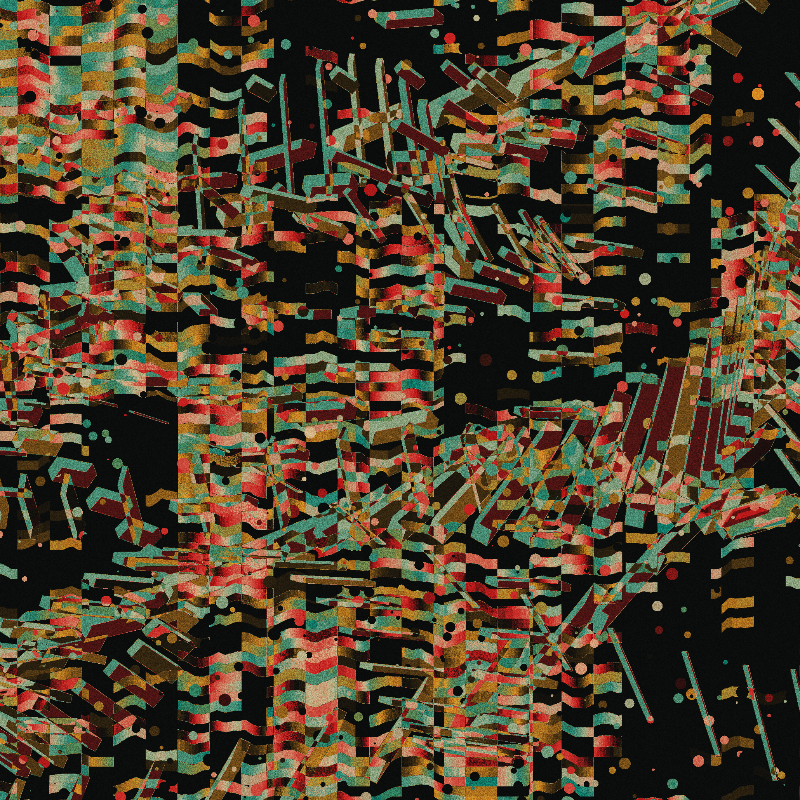
Coloring is done via LUTmap node. What this does is basically apply a color filter/effects by using a lookup texture. I find it very useful to create deep contrast and color combination as opposed to ColorMap node since ColorMap map the actual grayscale value to the gradient, but LUTMap works by...uh...let's just say it's more complex 🤷. This article explains it really well on its implementation in three.js.
By using gradient textures I can create and apply color palettes quickly and easily.
One of the parameters in Gradient Texture node that I include as feature is gradient step. The effect is subtle but it can add nuances to the variations. Here the effect can be seen on the CMYK palette.
With gradient step = true, only Cyan, Magenta, Yellow, and Black show up. Some green occurs but if you zoom in, it's actually just some individual Cyan and Yellow grain that create the illusion of green. But with gradient step = false, the color blends a little bit creating some actual shades of green and orange.
Melting Consciousness
At the post-processing stage, I put a PixelDisplacement node to give the lines and shapes a ‘wobbly’ look. It takes the grayscale value of a texture — in this case I use a combination of Simplex and Perlin noise — to displace the pixel on the final image.
I usually use a very low value for the displacement amount, but then I try increasing it a little bit to create a ‘melting’ look. It works pretty well with this type of visual, so I decided to leave it as an uncommon feature (± 20% chance of appearing).
That concludes this brief explanation of my creative process. Hope you enjoy the outputs, and happy minting! 🖤